A successful wet-area tile design resolves waterproofing, edges, niches and movement joints before choosing a decorative pattern.
Shower and tub surround tile is viewed at close range and exposed to frequent water. Clean detailing matters more than a complicated motif.
Select the waterproofing system first
Tile and grout are not the primary waterproof layer. Coordinate the approved substrate, membrane, corners, penetrations and transitions with the contractor and local project requirements.
Make the module work around fittings
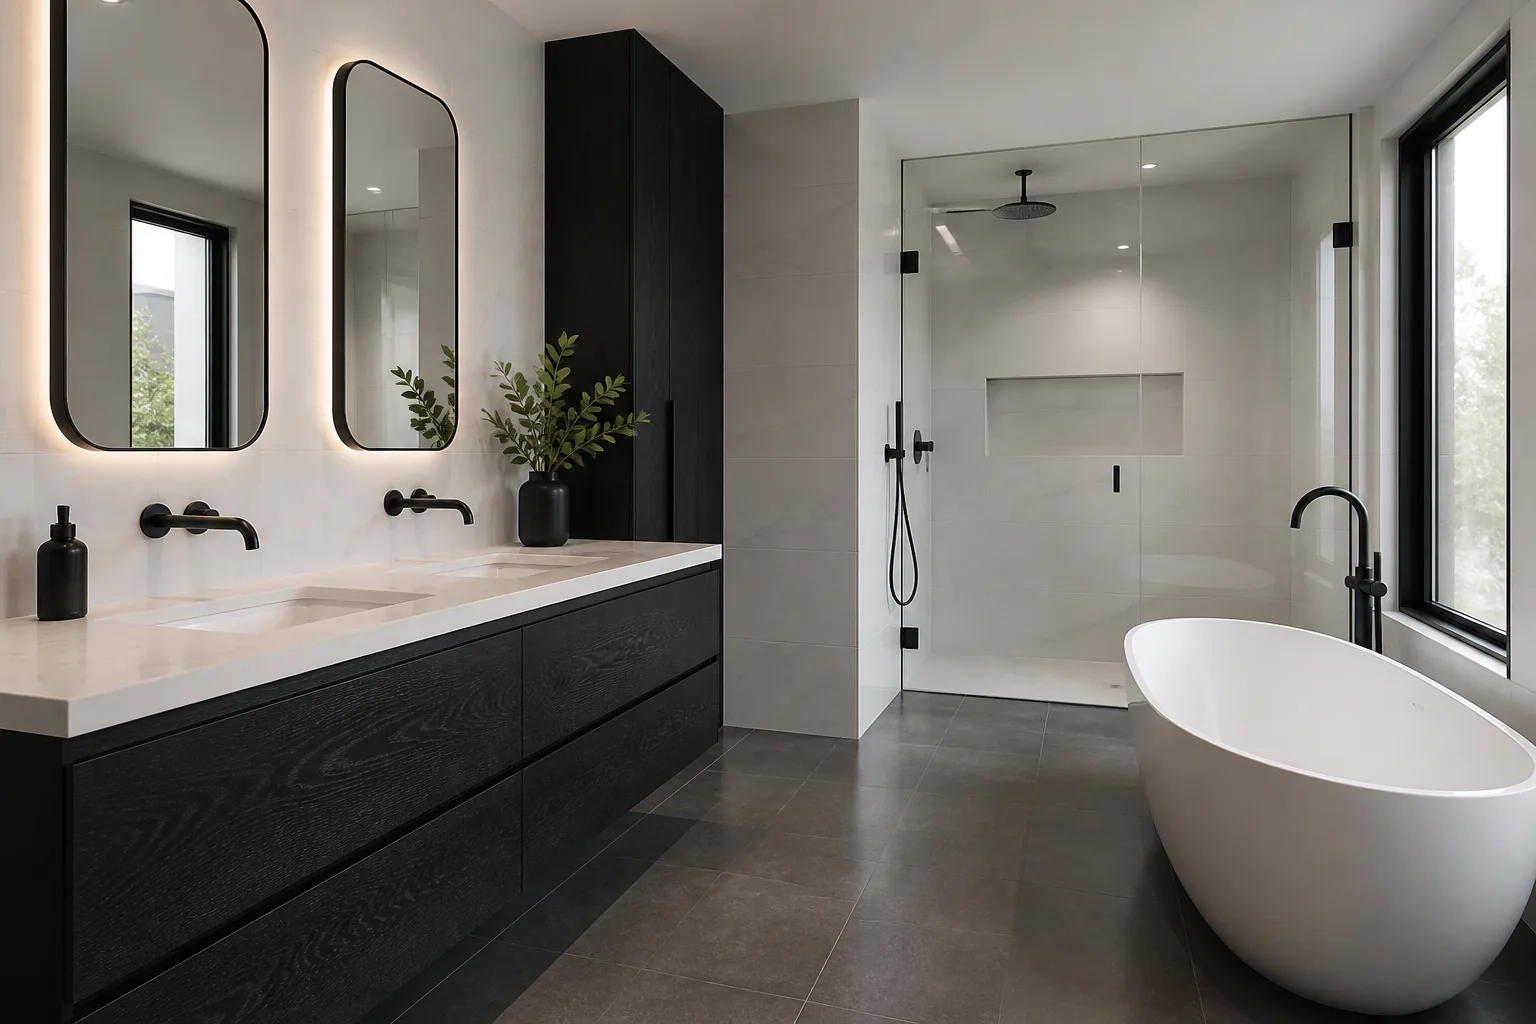
Draw tile joints in relation to the shower valve, outlets, niche and glass. A centred fitting or deliberate joint line looks calmer than an accidental sliver cut.
Decide how every edge finishes
Mitred tile, stone returns, metal trims and factory edges each create a different result. Specify internal and external corners, niche edges and the top termination rather than leaving them to site interpretation.
Reduce maintenance traps
Slope horizontal surfaces to drain and minimise shelves that collect water. Choose grout and sealants for the use conditions, and provide cleaning guidance to the operator or homeowner.
Coordinated selection
Products to resolve as one system
Glass and tile coordination
Plan glass fixing positions so they do not conflict with niches, trims or vulnerable tile edges.
Explore the guide ↗Visual references
See the decisions together
Questions answered
Planning FAQ
Should shower tile go to the ceiling?+
Full-height tile can simplify the visual field and protect more wall area, but the decision should consider ventilation, substrate, edges and project budget.
Where should a shower niche be positioned?+
Place it for safe reach and away from direct spray where possible, while coordinating structure, waterproofing and the tile module.