A convincing wet room begins below the visible finishes: structure, waterproofing, drainage and floor falls must be resolved before glass and fittings are selected.
Wet rooms remove the visual boundary around the shower, but they increase the importance of technical coordination. The whole exposed floor may need to manage water safely.
Resolve the build-up first
Confirm structural recesses, waterproofing extent, thresholds, finished floor levels and drain capacity with the project designer and contractor. The specification must follow local building rules and the chosen waterproofing system.
Control water without closing the room
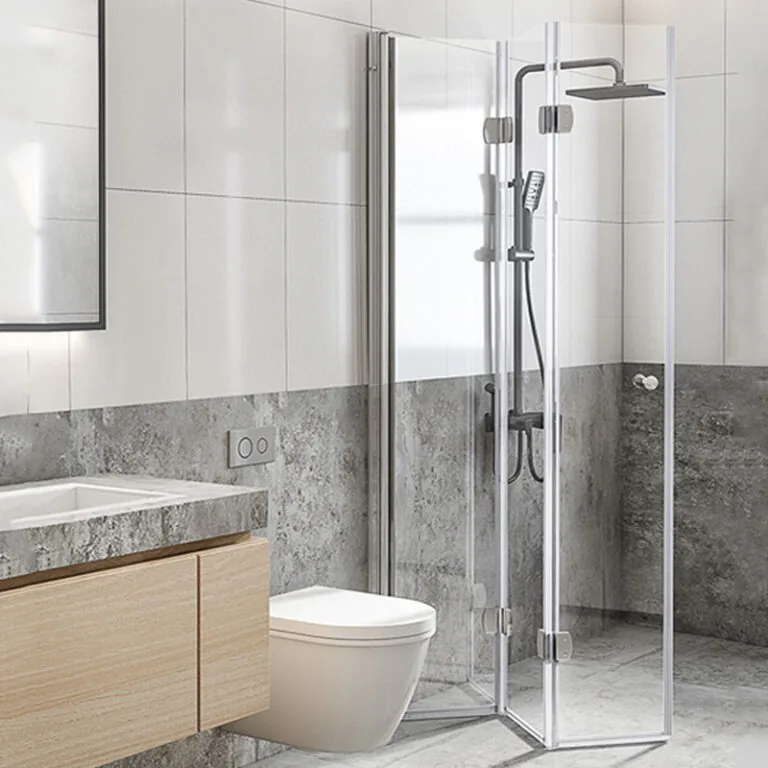
Position the shower away from the entrance and vanity. A ceiling-mounted or wall-mounted head has a different splash pattern from a hand shower. Test whether a fixed panel, return panel or full enclosure is needed.
Choose finishes for bare-foot use
Floor tile must suit wet barefoot conditions and cleaning requirements. Use fewer material transitions, but do not let a visual preference override safe falls or drainage. Seal junctions according to the system manufacturer’s instructions.
Coordinate every visible fitting
Shower controls, head, hand shower, channel drain, glass hardware, towel hardware and accessories should share compatible finishes. Submit drawings and finish samples together so the wet room reads as one assembly.
Coordinated selection
Products to resolve as one system
Shower glass
Confirm opening, panel size, support, hardware finish and splash path from a finished site measure.
Explore the guide ↗Visual references
See the decisions together
Questions answered
Planning FAQ
Does a wet room need a glass screen?+
Not always, but a fixed panel can control splash and protect towels, doors and cabinetry while retaining an open appearance.
Can a wet room use large-format floor tile?+
It can, but the drainage layout and required falls may need careful tile cutting or a linear drain. Slip performance and installer capability are equally important.